
The plugin Hello Event Widgets for Elementor is a companion plugin to the Hello Event plugin. Using this plugin it is possible to build one (or more) customised presentation template(s) for events using the Elementor visual editor. Elementor exists as a free plugin and a pro-version. This plugin does not require the use of the pro-version of Elementor since the presentation templates are ordinary pages.
If you decide to use (one or more) presentation template(s) this can be handled in two ways:
New parameter in the shortcodes to present list of events:
| Shortcode | Parameters | Description |
|---|---|---|
| [hello-event-calendar] | event_page | Optional parameter: slug of a custom page to show the events |
| [hello-event-list] | event_page | same |
| [hello-event-tabs] | event_page | same |
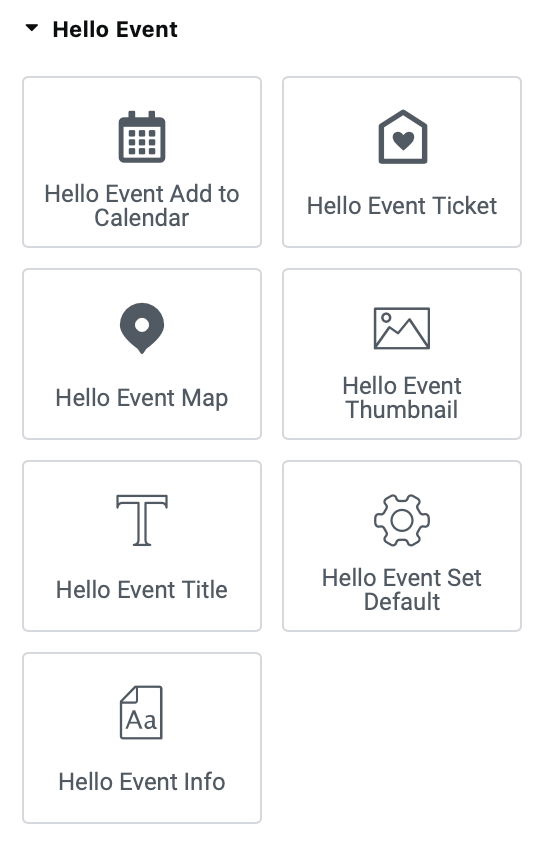
Building the presentation template with Elementor is quite straight forward using a set of dedicated widgets that appear in the editor’s widget panel in the section “Hello Event“:

Important: This the first widget to insert on the template page. Here you should fill in the slug or the ID of an existing event. When continuing editing and previewing the template page the data from this event will appear to help you see how a typical event will be presented. Later, when the template page is used to present other events, this default event is not used.
This widget is used to add the event title on the template page. Here you can set the html tag to use (e.g. H1), and optionally set an additional CSS class on this tag. You can also use the Elementor style and advanced tabs to set styling, padding, rotation, border, backgrounds, etc.
This widget is used to add the event thumbnail. Here you can set its width and optionally set an additional CSS class. You can also use the Elementor advanced tab to set padding, rotation, border, backgrounds, etc.
Used to create a link to the shop page where tickets to the event can be purchased. You can choose to show this as a button or as a link. If you choose button, then the style panel allows you to style the button, and the advanced tab can be used to set padding, rotation, border, backgrounds, etc.
Used to create a button for adding the event to the visitor’s calendar (by downloading an iCal file). You can also use the Elementor style and advanced tabs to set styling, padding, rotation, border, backgrounds, etc.
Used to add the event location map. You can add a CSS class to the div where the map is shown and the advanced tab can be used to set padding, rotation, border, backgrounds, etc.
Notice: the actual map may not appear inside the editor; in this case it will be shown as a grey boxed area. When previewing the template page that real map will appear.
This widget is used to add information from an attribute of the event to the template page. You select which information from a drop-down menu (date, location, excerpt, …) and you can also use the Elementor style and advanced tabs to set styling, padding, rotation, border, backgrounds, etc.